The Architecture of Painting: Building the Foundation
- nicolewarnerart

- 6 days ago
- 3 min read
Updated: 5 days ago

The first crucial decision a painter must make is selecting the surface.
The chosen support must perfectly align with the artist’s ultimate intention. While it is easy to make poor choices that negatively affect a painting's quality, artists dedicated to excellence must balance several factors: personal expression, the practical mechanics of the material, and archival longevity. While I cannot control future environmental conditions, selecting the right foundation is my first step toward ensuring a painting’s structural integrity for centuries.
In studio practice, the “surface" comprises three distinct layers: the support, the sizing, and the primer. Rather than cataloguing every available option, I want to share my specific process and explain why I custom-build my own materials. By investing deeply in this initial stage, I am already connecting with the future artwork and giving it the gift of a proper foundation.
Step 1: Selecting the Support

The support is the raw structural material. While most modern painters choose canvas, my preference leans toward wooden panels. A thickly woven canvas is excellent for heavy, impressionistic brushwork. However, my technique is delicate. Panels allow me to achieve a flawlessly smooth surface, creating visual effects uninterrupted by background texture. While finely woven Belgian linen can also be prepared to a silky smoothness, panels offer superior structural stability. When properly prepared, wood is far less likely to flex, significantly reducing the risk of the paint cracking over time. (An added benefit: building panels doesn’t involve particularly surprising noises, whereas stretching canvas involves a staple gun that absolutely terrifies my dog!)

To ensure stability, I select engineered wood panels made of thin, alternating layers. This cross-grain construction counteracts the wood’s natural tendency to warp or bow. While this is sufficient for smaller works, larger panels require additional reinforcement. For these, I build custom "cradles"—stabilizing wooden frameworks adhered to the back of the panel. They resemble window frames, which increases the structural depth and prevents bowing while the cut windows keep the overall piece from getting overly heavy.
Step 2: Sizing the Surface

Once the support is built, it must be "sized." I use traditional Rabbit Skin Glue, a historic animal-hide adhesive. The glue arrives in dry crystal form and must soak overnight in water before being gently dissolved in a double boiler. It is critical never to boil the mixture, as excessive heat destroys the protein bonds. While sizing tightens canvas fibers into a drum-like tension, on wooden panels it serves its purpose as a crucial chemical barrier, preventing the wood from absorbing the oil from the paint, while protecting the painting from ambient moisture.
Step 3: Priming
After sizing, the panel is ready for the primer, which dictates how the paint behaves. I use a traditional, lead-based oil primer specifically for its semi-absorbent qualities. Early in my career, I painted on a traditional chalk gesso ground (which is the historic definition of the word "gesso"). However, as my technique evolved, the high absorbency of chalk no longer suited my goals.
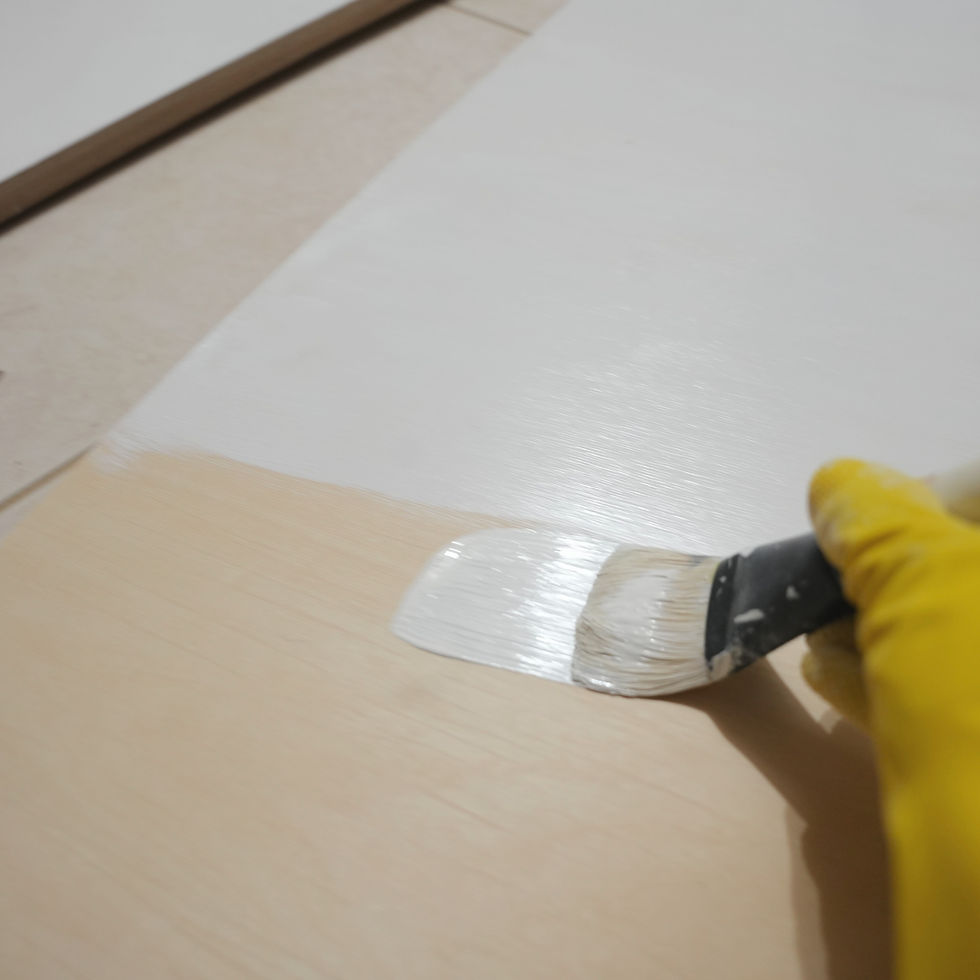
Conversely, I generally advise oil painters against using modern acrylic primer. Because acrylic is essentially plastic, it cannot absorb oil. This forces the oil to sit entirely on the surface, compromises the mechanical bond between the layers, and prevents oil paint from achieving its full depth and elegance.
My panels receive two coats of oil primer, with each layer requiring a full week to cure properly.
From the Saw to the Easel
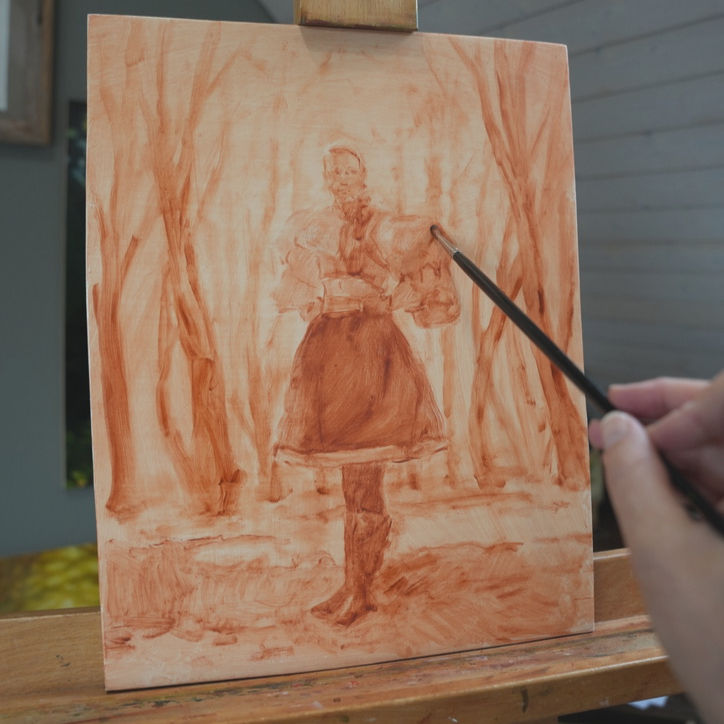
From the first cut of the wood to the moment the panel is placed upon the easel, the preparation takes roughly three weeks. Because of this rigorous timeline, I keep an inventory of standard sizes ready in my studio. However, for unique or custom commission sizes, please allow an additional three to four weeks for fabrication and curing before the painting process can begin.

Comments